Mount Teide hike is a fabulous but challenging adventure! It was so different to most of my high-altitude hikes, where the temperature usually droped way below zero! Just before Tenerife I accomplished my huge dream – Everest Base Camp trek, to put myslef on a warmer path leading to the top of Teide. It turned out that hiking Teide both ways on foot was much more demanding that I though. I’m attaching my hike diary, for easier planning and information on everything you need to know before the challenge.
I climbed Teide Volcano on the 30th of April 2022, both ways on foot and I’ll be dropping full information on how to accomplish this hiking adventure safely. Teide Volcano is officially the highest Spanish mountain, so it is not an easy trail. So make sure you are well able to hike the steep terrain for 10-12 hours, up to the altitude above 3700m. I’d say hiking length is the main issue, it really takes around 11 hours, so you should be in a good physical condition to do this. You may experience some symptoms of high-altitude sickness like headache or fatigue. Let me guide you on how to best prepare for this great hiking adventure!
Climbing the highest peak in Spain - Pico del Teide can be done two ways.
- BY CABLE CAR – the base station is at an altitude of 2,356 m taking you to the top station – La Rambleta, at 3,555 m. There is a permit check point at La Rambleta from where you can hike up the last section on foot – it’s 0.7km long but steep. The bottom Cable car station is located on the main road TF-21, south side of Teide Volcano. There are road signs and a car parking, so you won’t miss it. There are only two cable car stations – one on the bottom and one on the top, there isn’t any between.
- HIKING ON FOOT TO THE TOP OF MOUNT TEIDE – my option which I wanted to do for a very long time. You need to be well prepared mentally and physically for this long hike. This will require hiking up 1300 vertical metres and 8.5km one way. At the end of April it took me 5.5h to climb up and almost 5h to hike down. That included half an hour I spent on the top of Mount Teide admiring the views, celebrating my ascent and having my chocolate 😉 If you feel like hiking both ways may be too much for you, you can always hike up to Teide peak and take a cable car back down. Or the opposite way. Remember booking a cable car in advance. If the weather conditions are bad the cable car will not operate, so better check before you leave for your hike. The last cable car leaves at 4.30pm, so plan your hike wisely.
Mount Teide hike checklist - always check the following!
- Check the Weather Forecast for Pico de Teide! Never underestimate any mountain, especially if it’s 3700m high! Weather conditions may be sever on Mount Teide, so check weather forecast carefully before you hike. Depending on the time of the year the mountain may be covered with snow and ice in winter and spring months. Strong wind may occur like for me at the end of April and there was still some snow on the top!!.
- Cable car status and web cameras – check on the official website. Cable car is not operating when there’s a strong wind, which is very likely in Tenerife.
- Make sure you are physically prepared for a high altitude hiking. I know, some people might say it is an exaggeration to say that but it’s trust me it’s not. I’ve seen people with a very bad high altitude sickness at the level of 2500-3000m. Hiking up to 3720m may be very difficult if you have no experience on that altitude. Try to acclimatize before the hike – hike up few days before to the level of 2000-2500m and back down. Have plenty of water with you to hydrate your body and a basic first aid kit (painkillers, plasters, etc.).
Mount Teide permit to hike the peak?
YES! You need to apply online for a permit to climb Mount Teide. This permit is FREE OF CHARGE. Please note you need to book it well in advance – even 3-4 months ahead of your journey! Without the permit you will be only allowed to reach the top cable car station at the level of 3550m but will not be allowed to climb Teide peak.
The number of visitors is limited by the authority to only 200 people daily entering the National Park.
However, there were many people on the trail aiming to get through the check point at the top beyond opening hours. The guard on the check point is there only from 9.00am – 5.00pm. On my way back I met a lot of hikers and huge groups, who were just starting their trek in the late afternoon to reach Teide peak at night. They were planning to camp on the volcano and hike down in the morning. Very interesting adventurous option to consider. I was positively surprised as this sounds fascinating to sleep under the sky on Teide Volcano. A lot of them were planning to spend night near Altavista Refugio Shelter, even though it is closed, there are number of benches and plenty of space to camp.
Where is the permit checkpoint?
I found it incredible hard to find this information online, it is missing from the official teidevolcano website and even from the confirmation on your climbing permit. I’d say it’s pretty significant to know where the checkpoint is located, since you have to plan your route and timing to climb the 3700m peak.
PICO TEIDE PERMISSION CHECK POINT is at the top cable car station La Rambleta, at 3,555 m. Once you leave the station there is a gate with a guard, who checks the permits. You need to show your permit along with a ID document matching the permission. The permit is only valid in that selected time, so plan your trip wisely. This is very important, otherwise you may be denied entry if you arrive beyond your slot time.
There are two options for applying for permission:
- Process the reservation online through an Official National Parks reservation website for General Public.
- Hire a company of guides accredited by the National Park to do a guided hiking activity. If you are a good hiker that wouldn’t be necessary, it is doable alone, the path is visible and maintained.
All permits are allocated in 4 slots of two hours each one:
- 09:00 to 11:00
- 11:00 to 13:00
- 13:00 to 15:00
- 15:00 to 17:00
Is it difficult to climb Mount Teide?
Mount Teide hike is a difficult trail but it’s non-technical. The hike is very dependent on the time of the year. In winter months there will be snow and ice at higher sections and the mountain may be even closed due to icy conditions (it happened before). It may also get very windy, so pack wisely – see the list below what to pack for hiking Mount Teide. In summer months the sun is very aggressive, you will need a sun lotion (at least filter 50). This is a huge altitude change for one day, it’s more than 1300 vertical metres to climb one way. Some sections are steep, but the path is visible and quite well maintained. There are signs on the way up, so the way up is clear and you will be guided by road marks.
How long does it take to climb Mount Teide?
It took me 5.5h to hike up and 5h to hike down. Including 30 minutes on the top of the volcano, when I was admiring the views and celebrating my ascent. This is a long expedition, so you need to be in a good physical condition to do it, and probably have a good hiking experience. Normally the hike up and down is doable in 10-12 hours. It may be tiring for your legs, because of the steep and sometimes gravel terrain.
There are number of hiking routes leading to the top of Teide Volcano. The most popular is Montana Blanca, approaching Teide from the south side.
Why to rent a car in Tenerife?
Renting a car in Tenerife is one of the most pleasurable experiences I ever had with rental companies. Although bus network in tenerife is well developed I highly advise to rent a car to became time independent and drft your own itinerary.
DISCOVER CARS is the best an award winning car rental in tenerife – with best rates, no hidden cost and free cancellation (World Travel Awards, Financial Times 1000). Why to rent a car in Tenerife:
- Renting a car in Tenerife is cheap, high quality and very straighforward,
- Car gives you time flexibility and movement freedom,
- Car makes it very easy to reach hidden treasures of the island and make a stopover whenever you are astonished by the beautiful landscape,
- You can easily reach most unique highlights of the islands,
- Road infrastructure is decent and easy to drive.
Climbing Mount Teide from Montana Blanca - step by step guide.
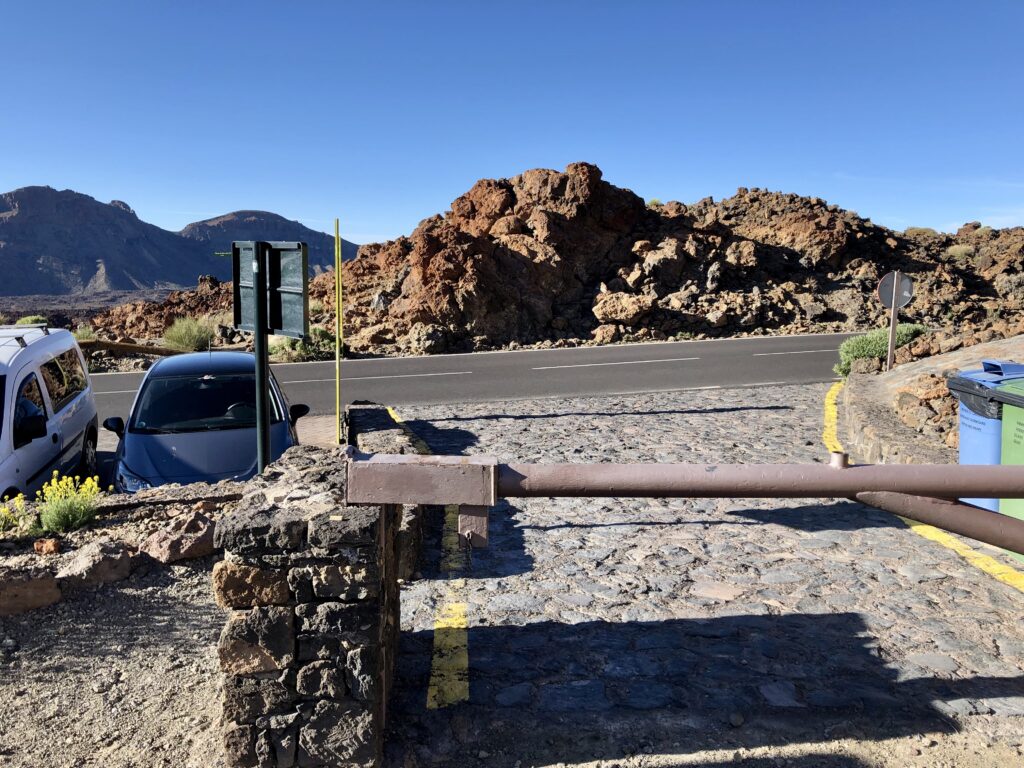
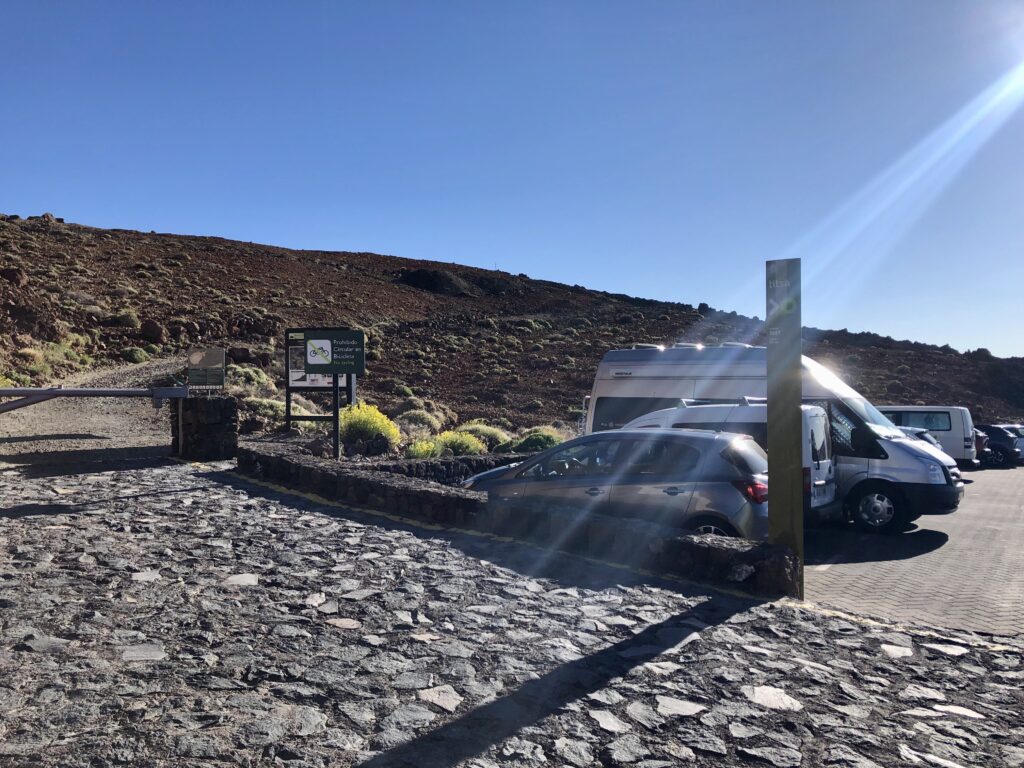
Your starting point for hiking Mount Teide is located on the main road TF-21 and it is Montana Blanca (2,348 meters) – see both photos. There is also a tiny parking place with literally 10 spaces, so I wouldn’t count to get one.
Driving road TF-21 east direction you will first pass the cable car station on your left. There are clear road signs – you can’t miss it. Driving further the main road, after 2 km there is a convenient car park on your right, where you can leave your car free of charge.
You can get there by car or a bus (https://www.tenerifeguide.eu/public-bus-timetable/).
Montana Blanca route to Mount Teide.
The walk-up trail called Montaña Blanca is the most popular way to climb Teide. You would need to hike up a distance of 8.5km and an accumulated slope of over 1,300 meters. Make sure you are well prepared physically and are well equipped for the hike.
1. Montaña Blanca (2,348 meters) is your starting point. Just go through the main gate. Trail no. 7 leads through a pretty flat and sandy path till the first crossroad. (1.15h)
2. You’ll be waking up a pleasant path surrounded by incredible desert volcanoe landscapes and number of viewing points. After 2.5 km from the starting point there is a crossroad with visible road signs. Keep walking straight the main path.
3. After 4.6km you’ll reach another crossroad, from where you’ll be hiking up another 4.8km through a steep section leading to Altavista Refuge (3,260 meters). 2.5-3h
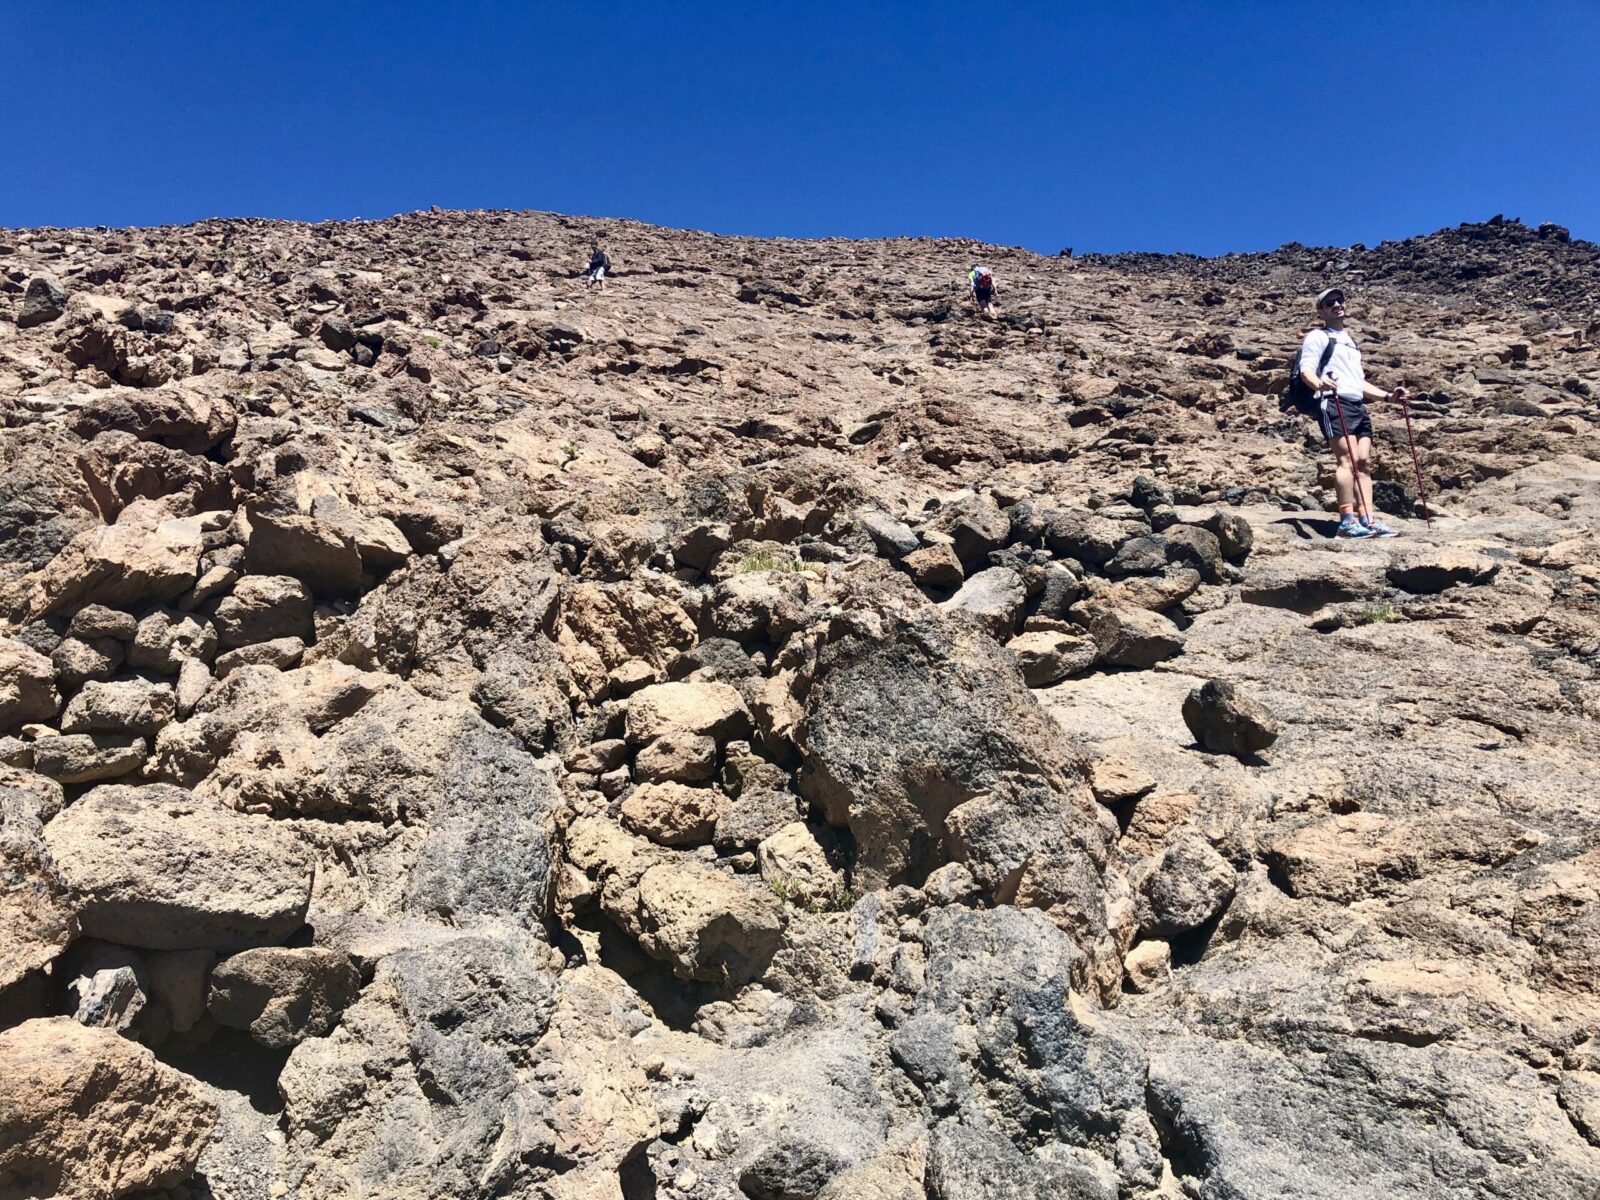
The view from Altavista Refuge – 3,260m.
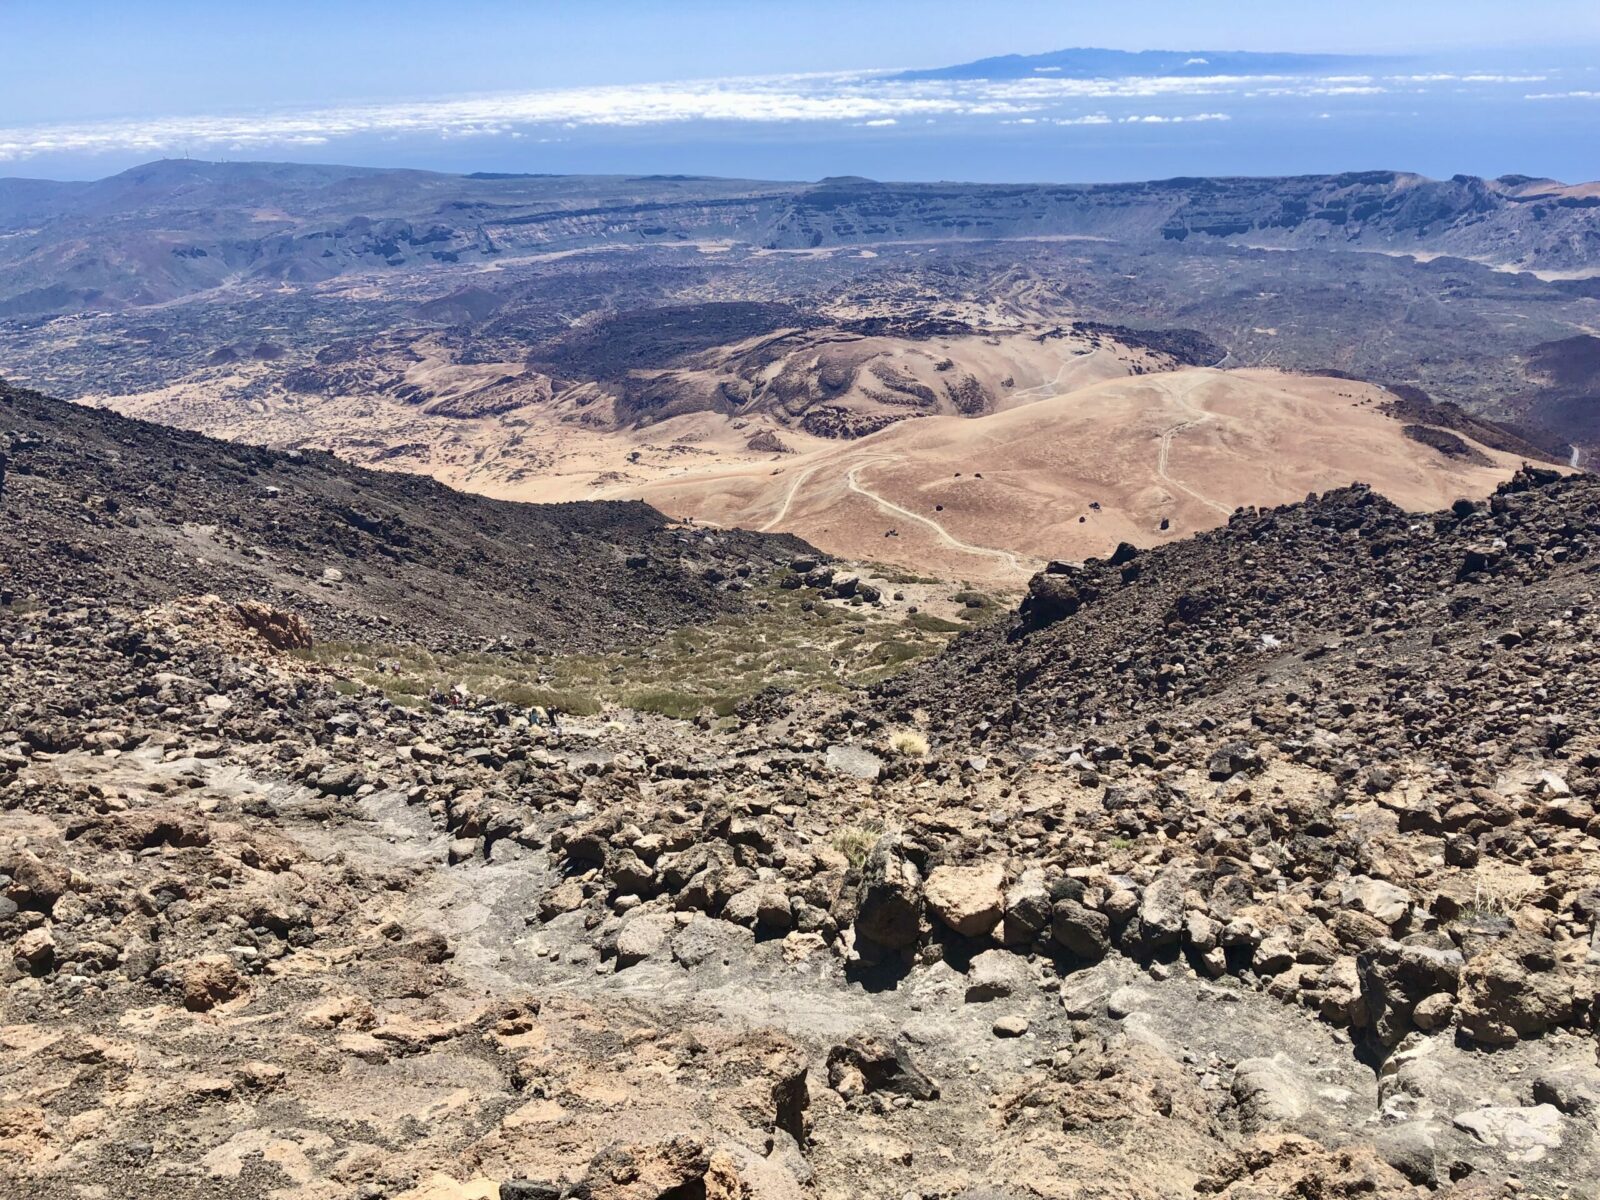
From Altavista Refuge take the path number 11 to hike up to La Rambleta (3,555 meters). This is the top cable car station and a permit check-point. 1h
CHECKING POINT – The guard will tell you not to leave the main path on the way up to the peak, which is even more important information than you may think! It’s for your safety. This volcano is active, that means it is constantly boiling and the surrounding rocks may be hot and burn your shoe or leg. I accidently touched a rock, and it slightly burned my calf.
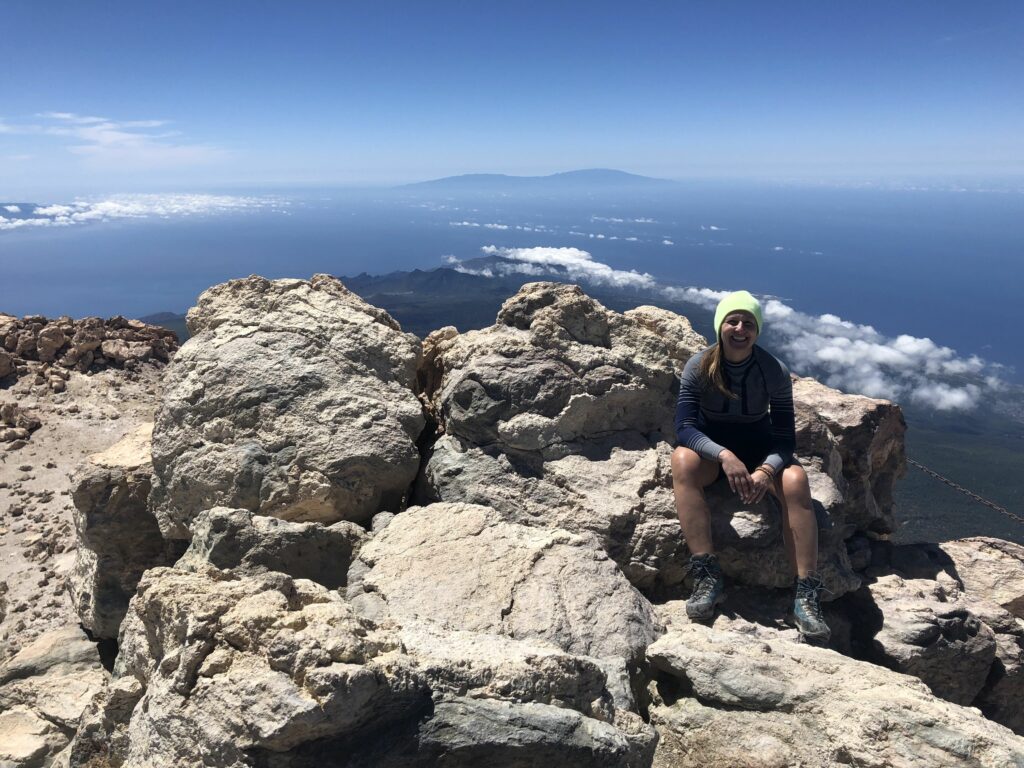
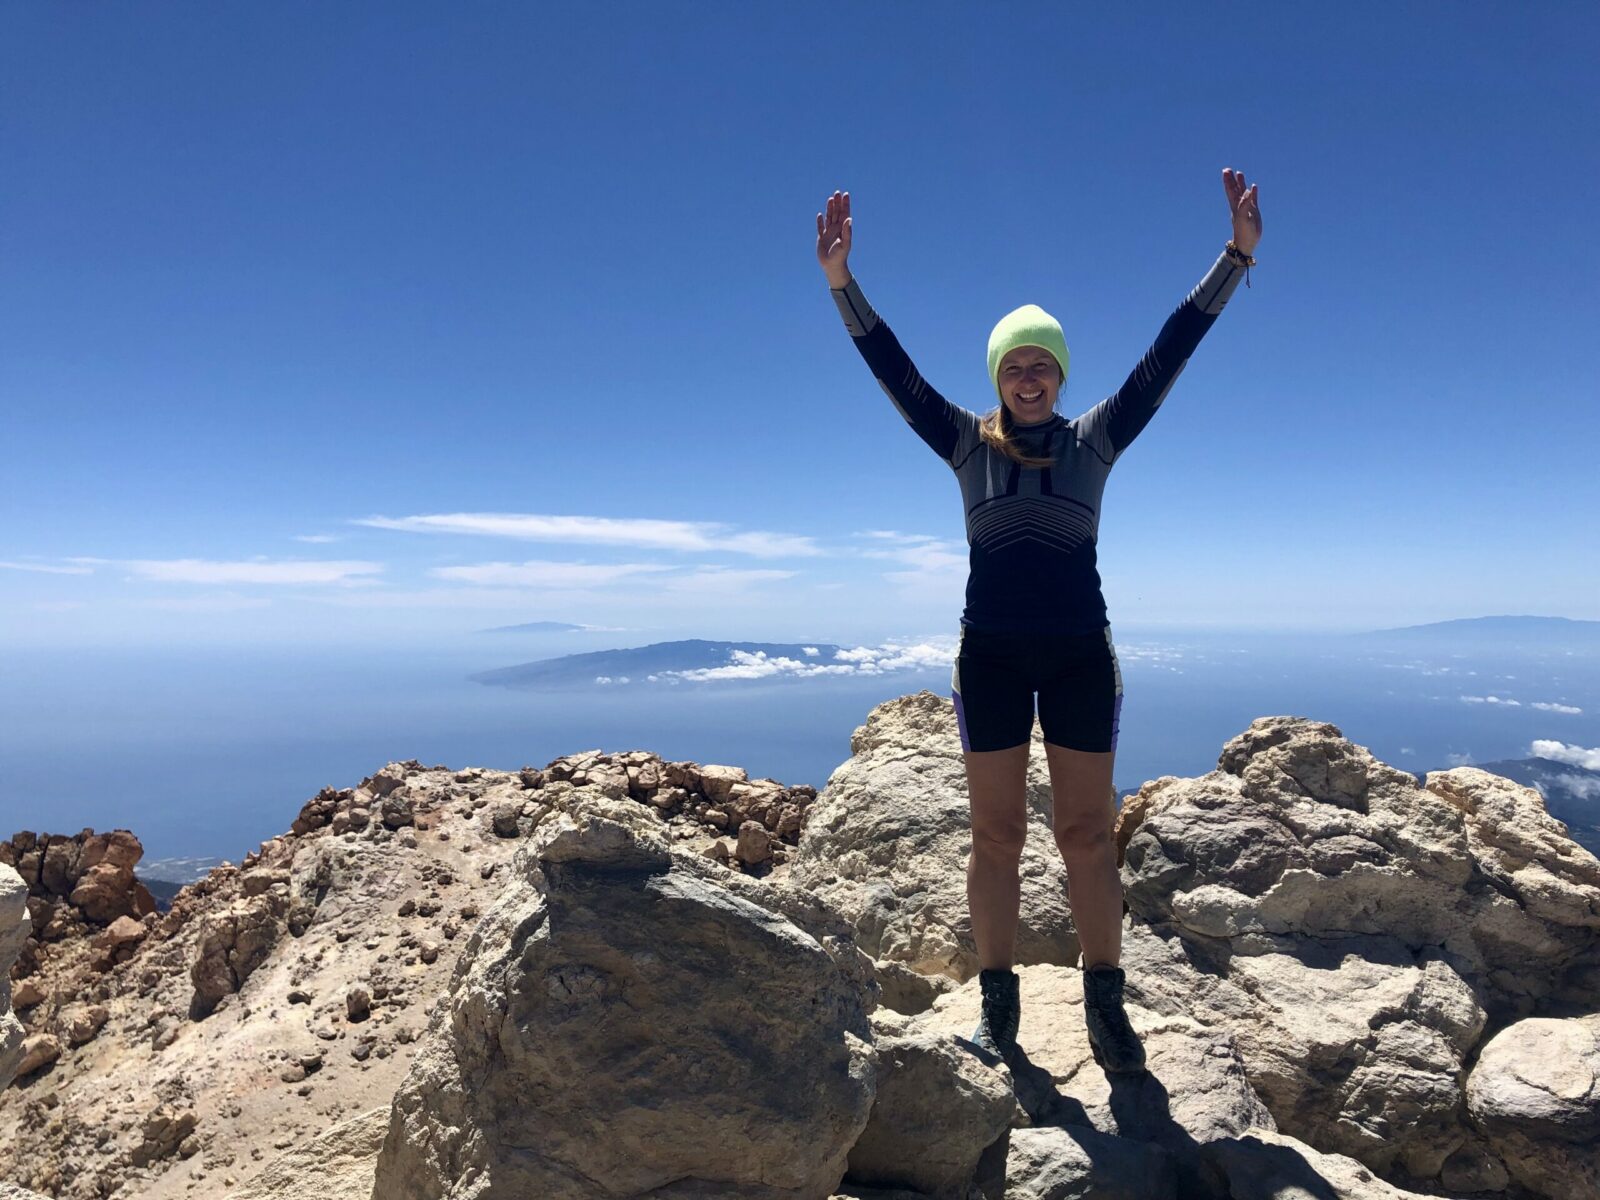
From La Rambleta, through the checking point your road leads to the peak of Mount Teide (3,715 meters). It’s only 45min to the top but you may be pretty tired at this stage. The views from the top are magnificent, they spread across number of Canary Islands, which are well visible from the top of Teide. The crater itself is not that overwhelming, there is no sign of lava but the sulphur smell is heavy and the smoke is coming out of the rocks. So it is visible the volcano is still very active.
FINALLY – ON THE TOP OF MOUNT TEIDE!! 😉
Hiking down Teide Volcano.
On the way back, be careful as your legs will be tired at this stage and it’s difficult to walk down on a gravel path. The sun is on the other side of the mountain and the clouds gather below your level, so the views seem to be even more magnificent. You’ll be probably alone on the trail down, as most people take the cable car as a return option. Remember to buy tickets in advance and that the last cable car is at 4.30pm.
What to pack for hiking Mount Teide?
- A lot depends on the season: winter-time – you need to be wearing warm clothing, there will be snow and ice on the top section.
- Rain and wind jacket is a must! Even in hot months the wind may be very strong starting from lower sections.
- Very good hiking boots!
- Sun glasses and a hat.
- Sun lotion – even in cold season, you are at high altitude and the sun may be very agressive. Use high protection sun lotion.
- Hiking poles may be very useful in this heavy lava terrain.
- WATER – I took 5 litres of water /end of April/. The sun was very strong that day and I always recommend to drink a lot at high altitudes. This helps you body to acclimatize better and reduces any high altitude sickness symptoms. Beside – there is no place to purchase water or food on the way to the top of Teide Volcano. Refugio Altavista was still closed since the beginning of 2020. I didn’t take my camel bug but that would be very useful on Teide 😉
- Pack your lunch and some snacks – nuts, chocolate, protein bars – always better to have more than run out of food in the mountains.
- Even if the forecast is good take an extra jersey and a rain jacket /light one/.
You can book one of the following tours, which are really well organized – the stargazing tour is definitely something different, but you should not miss summiting Teide in a daytime.
Other routes for hiking Mount Teide.
Option 2 for hiking Mount Teide: Ascent to Pico del Teide by Pico Viejo, from Sendero Roques de García trail
Starting point – Parador de las Cañadas del Teide – there is a large free parking to stop the car. You will take path no 3 of the Roques de García, that leaves of the Mirador of the Roulette. There is a famous stone-made structure called Roque Cinchado. On the way up you will reach a crossroad with signs, which clearly state all directions – follow S-9 toward Teide. This route offers stunnin views of Pico Viejo. Take direction toward La Rambleta from where you’ll reach the check pointo to the top of Teide.
Option 3 for hiking Mount Teide: Ascent to Teide from the Chafarí trail through Pico Viejo
Park your car in Mirador de Boca Tauce. From this point you should walk (approximately 0.5 km) along the road that goes towards Cho (TF-38) until the beginning of the path nº 28 of Chafari. You’ll be hiking toward Pico Viejo until you reach its peak. From there you’ll hike toward La Rambleta (patch number 12). From La Rambleta it’s the same route as described above – through the checking point where you need a permission to the peak of Teide (45min).


